
The most expensive deck decisions are the ones you make after the framing is already up. Layout, drainage, and material choices are cheap and easy on paper, and costly to change once joists are set and boards are down. Work through the seven steps below in order, and check each one off as you lock it in. Nothing critical gets decided before you have thought it through.
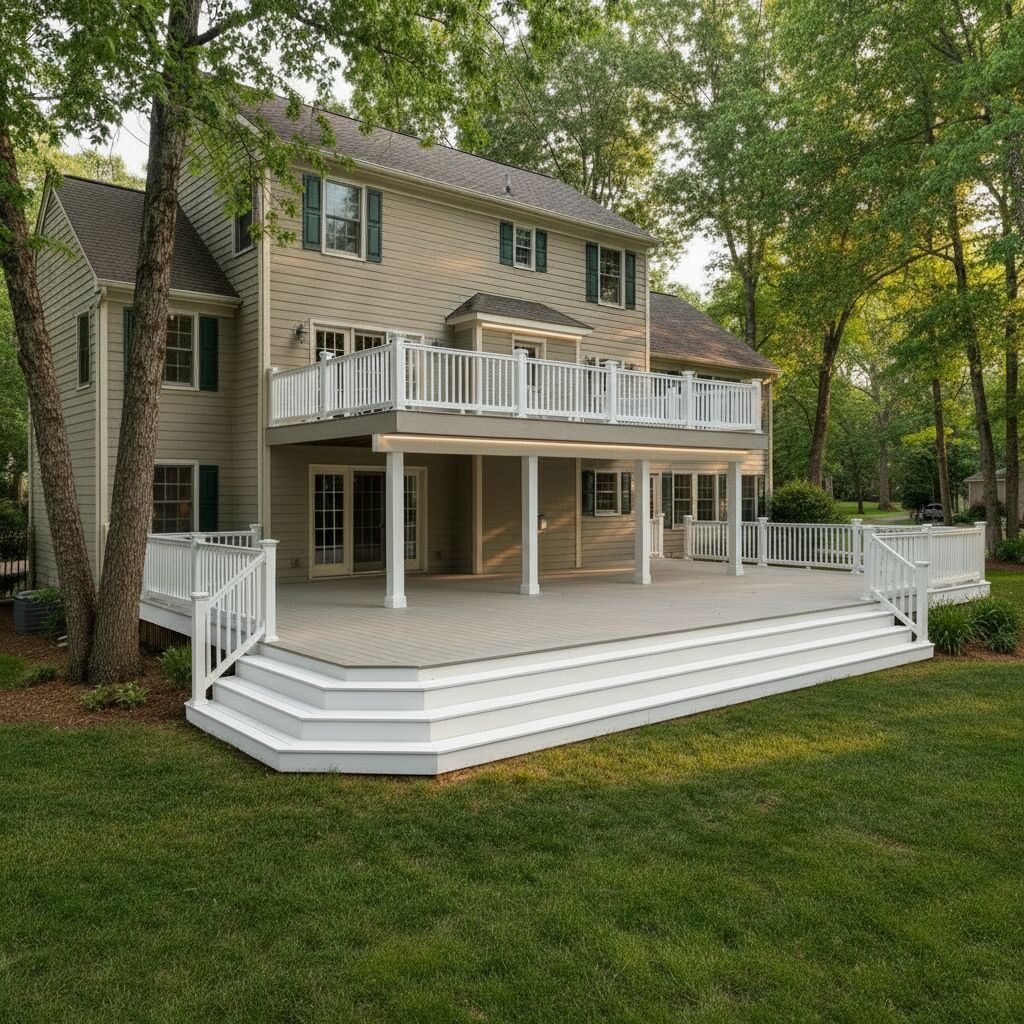
One decision drives almost all the others: whether you want to use the space under the deck. Answer that early and steps 3 through 6 fall into place. Leave it for later and you may be tearing out finished work.
Nail down how you will use the space
Before anyone talks materials, decide what the deck is for. An entertaining deck wants a different size and traffic flow than a quiet lounge. And critically, decide whether you want to use the space underneath. If the deck is raised and you want a dry room, kitchen, or storage below, that decision has to be made now, because it determines the drainage system, and the drainage system has to be designed in from the joists up.
Confirm layout, size, and permits
Sketch the footprint, the stair locations, and where the deck attaches to the house. Check setbacks and height limits with your local building department early, since these can force layout changes. Most jurisdictions require a permit for a deck above a certain height, and the inspection schedule will shape your build timeline.
Get the framing right
Framing is the part you cannot see later, so get it right the first time. For most residential decks, that means joists 16 inches on-center, properly flashed ledger attachment to the house, and footings sized for your soil and frost depth. If you are installing an integrated above-joist drainage system, confirm the framing layout it expects. AmeriDex installs on a conventional 16-inch on-center layout with no special sub-framing or pitch trays required.
Decide on drainage before the boards go down
This is the decision that is impossible to reverse cheaply. There are two paths. A below-joist system is a retrofit tray hung under the framing, added after the deck is built, that keeps the patio below dry but lets the framing get wet on every storm. An above-joist system builds the watertight layer into the deck surface itself, so rain never reaches the joists. If you want dry framing and a usable space underneath, the choice has to be above-joist, and it has to be specified now. The above-joist vs below-joist comparison lays out the trade-offs.
Choose your boards and seal
Material is where look, maintenance, and lifespan are set. Cellular PVC with a hard ASA cap resists rot, splintering, and warping, holds its color, and carries a Class A flame spread rating. With AmeriDex, the boards do double duty: they lock onto the Dexerdry TPE seal as they are installed, so the same surface that you walk on is the surface that does the waterproofing. Order free samples early so you can see the colors in daylight against your house before you commit.
Plan fasteners, lighting, and the under-deck finish
Decide on hidden fasteners or face screws, and if you want lighting or a finished ceiling under the deck, plan the runs now. A dry under-deck space lets you finish the ceiling with beadboard or tongue-and-groove and add lighting or a fan, but only if the framing overhead stays dry, which again comes back to the drainage decision in step 4.
Line up the warranty and the quote
Finally, understand what is warranted and for how long before you buy. AmeriDex carries a 25-year residential limited and 10-year limited commercial warranty, and registration takes a few minutes after install. To pull it all together, start a free quote with your dimensions and a regional dealer will return board counts, accessories, and lead time, usually within a business day or two.
Build the deck once, build it dry, and the space under it becomes a room instead of a problem.
Checked off all seven? For the homeowner view of why a dry under-deck space is worth planning around, see keeping the space under your deck dry.